CMS Admin Tools
Savvas administrators have access to view the status of district syncs to help troubleshoot issues that may arise. Access to rosters, events, and syncs with the ability to trigger events can help resolve customer issues more quickly. Expand the topics below to learn more.
Create an Administrator
EasyBridge administrators can create new administrators.
- Log in to EasyBridge. You will automatically land on the Classes page.
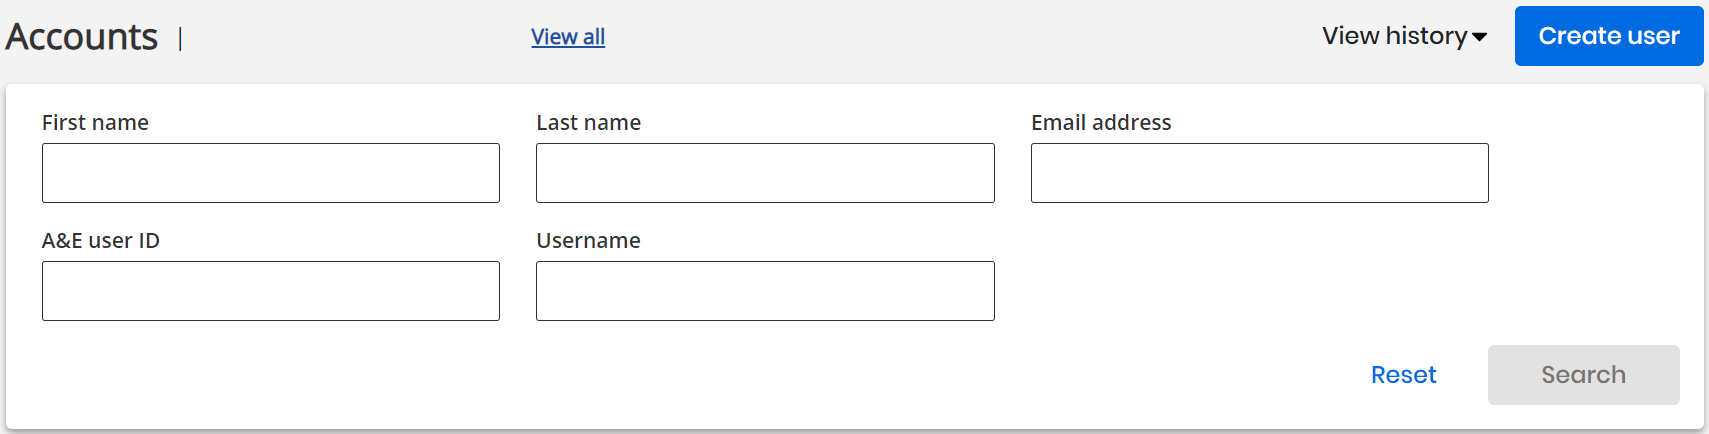
- Click Users in the top navigation and select Accounts in the drop down menu.
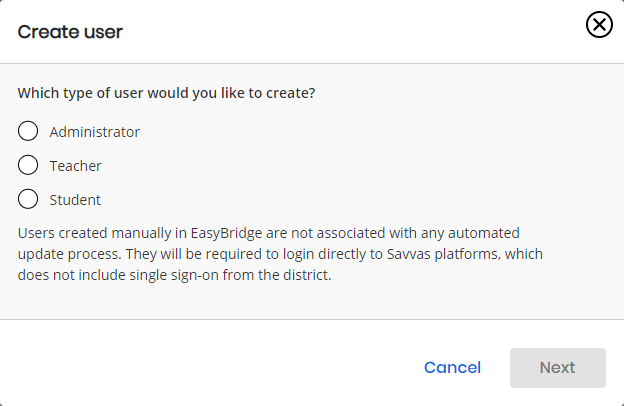
- Click Create Users and select Administrator.
- Click Next.
- Fill in the required fields.
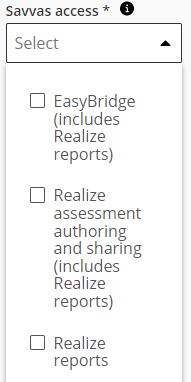
- Click the Savvas access drop-down menu to select which Savvas products this administrator account has access to. These are not checked by default.

- Click Create user.
- The following confirmation appears.


Edit an Administrator
EasyBridge Administrators can update existing Customer Administration accounts.
- Log in to EasyBridge. You will automatically land on the Classes page.
- Click Users in the top navigation and select Accounts in the drop down menu.
- Enter the administrator's information into the search fields.
- Click Search.
- Use the available filters to narrow your search results and click Apply filters.
- Click the name of the administrator you want to edit.
- Edit the information on the administrator profile page.
- Click Save.

Use the View Rosters and Events tab to verify if a district is having sync issues and take actions to correct them.
- Select Search Classes by either the RUMBA Org ID or the Section ID for the school or district in question.
- Enter either the RUMBA Org ID or the Section ID.
- Select the platform.
- Specify the school year.


More on this topic Coming Soon!
Use the Create Events tab to search for class details and trigger events.

More on this topic Coming Soon!
Use the sync status tab to locate a district and verify if there are any sync failures. You can see the number of records queued, in progress, synced and failed. If your Savvas EasyBridge account does not include this view, please contact Savvas EasyBridge Product Management if you need access.

- Login to EasyBridge as a Savvas Administrator.
- Scroll to CMS Tools.
- Click the Sync Status tab.
- Search by either Tenant Id or District Name.
- Click Search.

- Click View to see a list of processed records.

- Click Show to see a detailed message for any failures.


Administrators can export all users or a select group of users from EasyBridge. Follow the steps below to Export a group of users.
- In the Savvas Admin Tools page, search for the organization you want to interact with in the Organization search box.
- Click View Org Information.
- Click Manage Users from the list of options under the organization you searched for.
- Click Accounts in the drop-down menu.
- Select the check box next to any account or accounts in the results, then click Export in the list of actions above the list of accounts. A pop-up window appears.

- Enter the export file description, read the PII data acknowledgment and check the box. Click Export. You will see a message that says "Export in progress. Go to View history to see the latest status." There is a View export history button that takes you directly to the View History page.
- The View History page contains your list of exported accounts. Click Download next to any of the accounts you've exported to open a CSV file containing information related to that account.
