Update Existing Class Roster
Update the existing class rosters in Realize completing the following three steps:
- Export the School's Roster Spreadsheet
- Make changes to the spreadsheet
- Upload the Updated Spreadsheet.
 Export Your School's Roster Spreadsheet
- Log in to Realize. The Classes page appears.
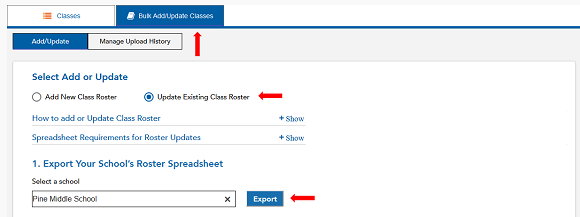
- Select the Bulk Add/Update Classes tab.
- Select Update Existing Class Roster radio button.
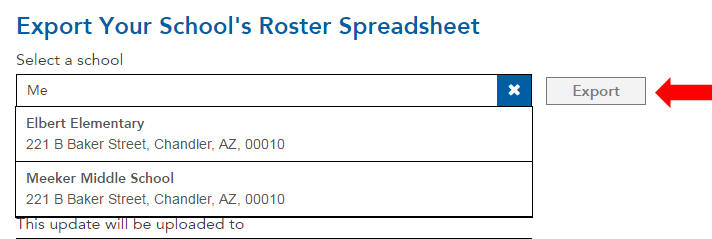
- Scroll to the 1. Export Your School's Roster Spreadsheet section.
- Begin typing a school name, and select it when it appears in the smart search box.
- Select the Export Button to export the all class rosters associated with the school.
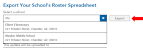
- Select the Download button when it appears.
 Make Changes to Your Spreadsheet
- Open the .csv in a spreadsheet application, such as Excel.
- Make edits directly in the spreadsheet
- Save as a .csv file.
Upload Your Updated Spreadsheet
Upload the entire roster, including the rows with changes, or just the changes. This ensures the most accurate class and roster information as well as a unique Realize class ID for each class.
- Sign in to Realize. The Classes tab appears.
- Select the Bulk Add/Update Classes tab.
- Select the Update Existing Class Roster radio button.
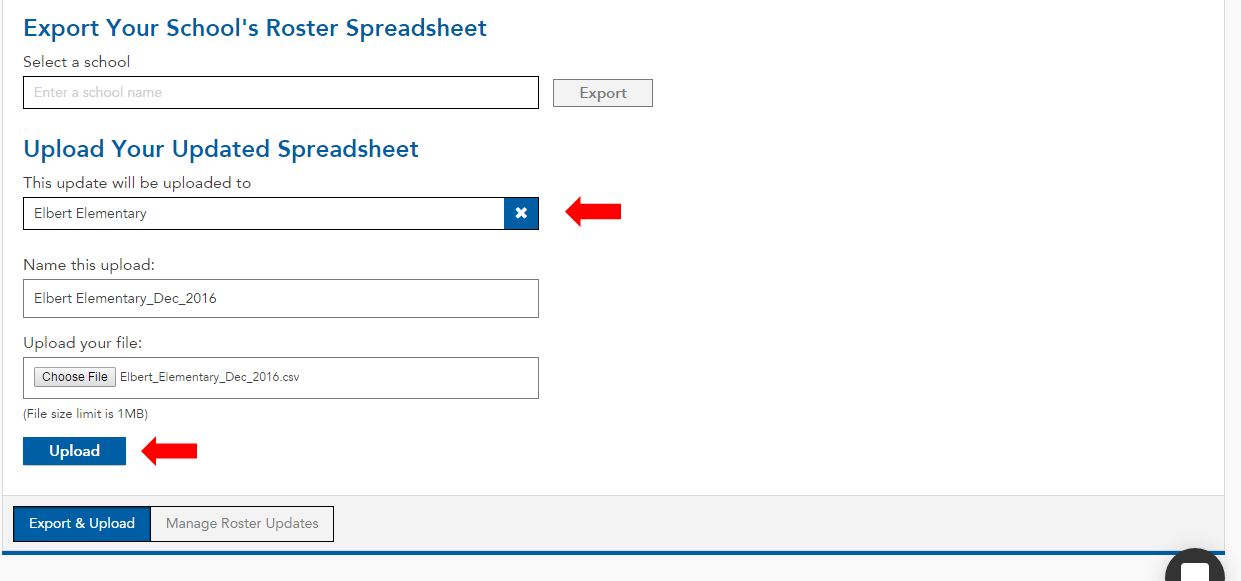
- Scroll to the 2. Upload Your Updated Spreadsheet.
- Enter the school name for which the updates to be uploaded.
- Select a name for the upload.
- Select Choose File and locate the saved spreadsheet in .csv format.
- Select the Upload button.
The file size limit is 1MB.
If all records process to success, the Upload Status are marked as Completed and the record grayed out in the Manage Roster Updates area. If any records result in errors, correct them directly in the spreadsheet and upload the file again, selecting the Update Existing Class Roster radio button on the Bulk Add/Update Classes tab, Add/Update page.