Assign Google Docs Content
If you are subscribed to a Savvas program that contains Google Docs™ content authored by Savvas, then you can edit or assign this content to students in both Realize classes and in classes linked or imported from Google Classroom™.
- Each student in a class linked or imported from Google Classroom™ receives their own writable copy of the Google Doc, which can be changed and saved directly in the assignment viewer.
- Students who are not a part of a Google Classroom™ can link their Google accounts to Realize and get their own interactive copy of a Realize-provided Google Doc assignment when you have assigned the Google Doc using your own Google account.
-
The steps below assume the use of a Google account by you, other teachers, and students using the classic assignment flow in Realize to provide a writable copy of the document to students, so neither you nor your students have to manage this process manually. There are additional options for using these same Google Doc items provided by Savvas in other ways, such as the Google Doc-native "Make A Copy" option or without using a Google account ("Download"), but they are outside the scope of this article.
Assign a Savvas-Provided Google Doc as an Assignment
The process of assigning a Google Doc as an assignment is similar to the process of creating any other type of Realize assignment, which you can view here. Although you technically don't need to use a Google account to assign it, to get the most out of Google Docs provided by Savvas, you and your students should use Google accounts to create or complete assignments.
If you want to make en editable version of the Google Doc, you must log in with a Google account. You can find more information about this in the next section below.
Edit and Assign a Savvas-Provided Google Doc
Make a Savvas-Provided Google Doc Editable
Savvas has provided Google Doc assignments that you can edit and then assign to your students. Follow the steps below to make an editable Savvas-provided Google Doc:
-
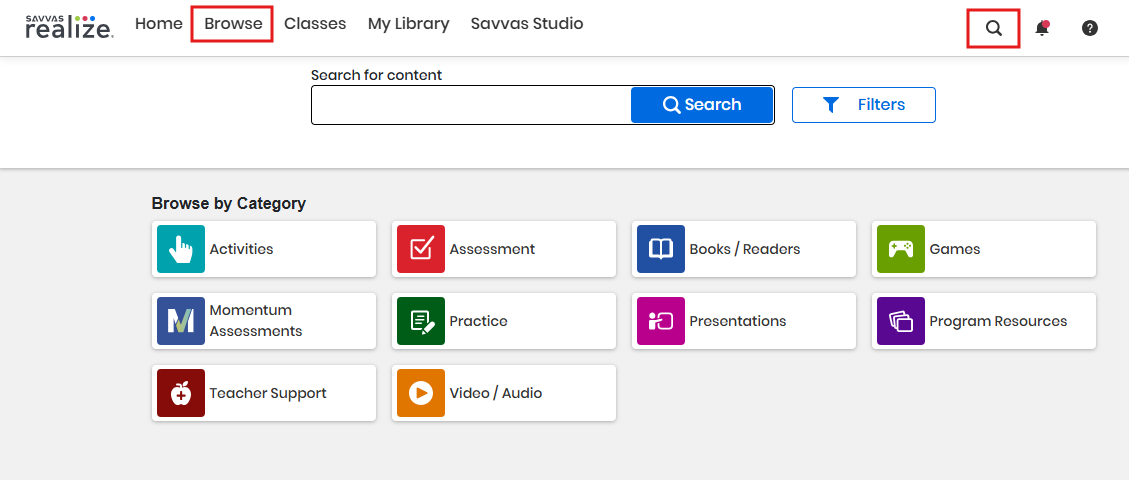
Select Browse in the top menu bar, and then select the program from which you want to make an assignment. You can also search for a Google Doc assignment by selecting the Search button and searching for Google Doc.

-
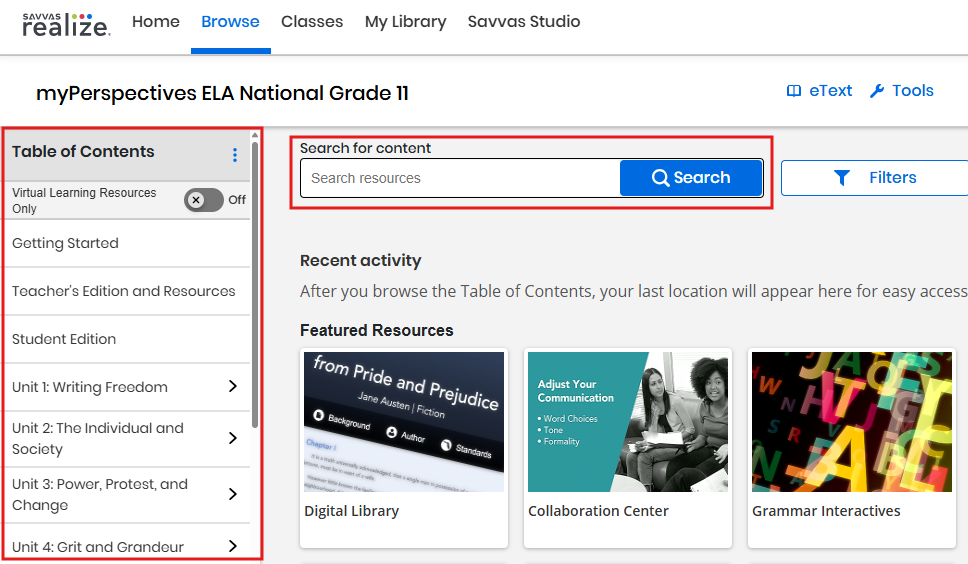
In the program page, you can locate a Google Doc assignment from within an entry in the Table of Contents in the left panel. You can also search for Google Docs content in the program using the Search for content tool.

-
Select a Savvas-provided Google Doc activity. The Google Doc then appears.
-
In the Google Doc, select Create editable copy from the Do you need to edit this Google Doc? banner on the top.
You must log in with your Google account to access the ability to edit the Savvas-provided Google Doc.

You can also select the 3-dot menu from the top right corner, next to Add to Playlist, and select Create editable copy.
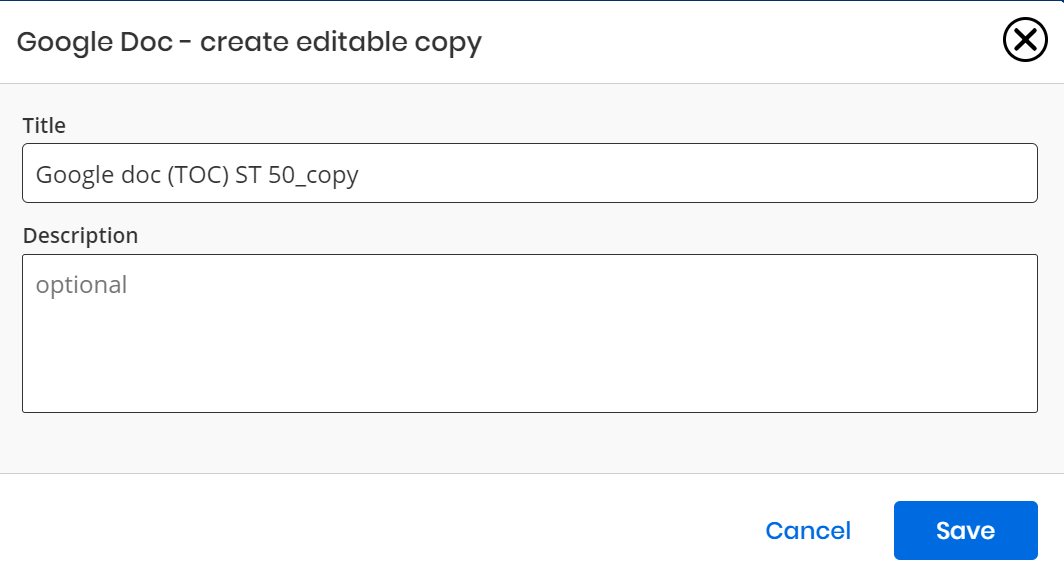
The Google Doc - create editable copy box appears.

-
In the Title box, enter the title of the copy.
-
In the Description section, enter the description for the Google Doc.
-
Select Save to save the copy. You can also select Cancel or the
 button on the top right to abort the function.
-
If you have already logged in, then skip to the next numbered step in the sequence. If you have not logged in, follow the bellow steps:
-
On the Google Doc page, select the Sign in button on the top.
-
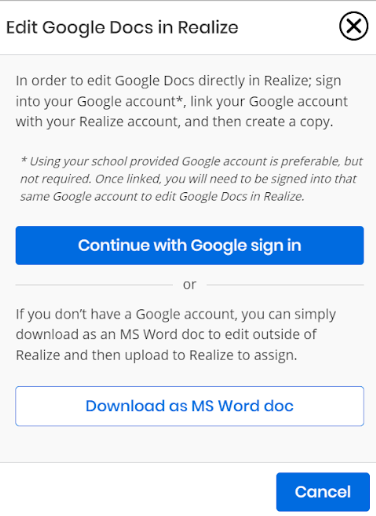
The Google Sign in box appears.

-
Select Continue with Google sign in button.
-
Log in with your Google credentials.
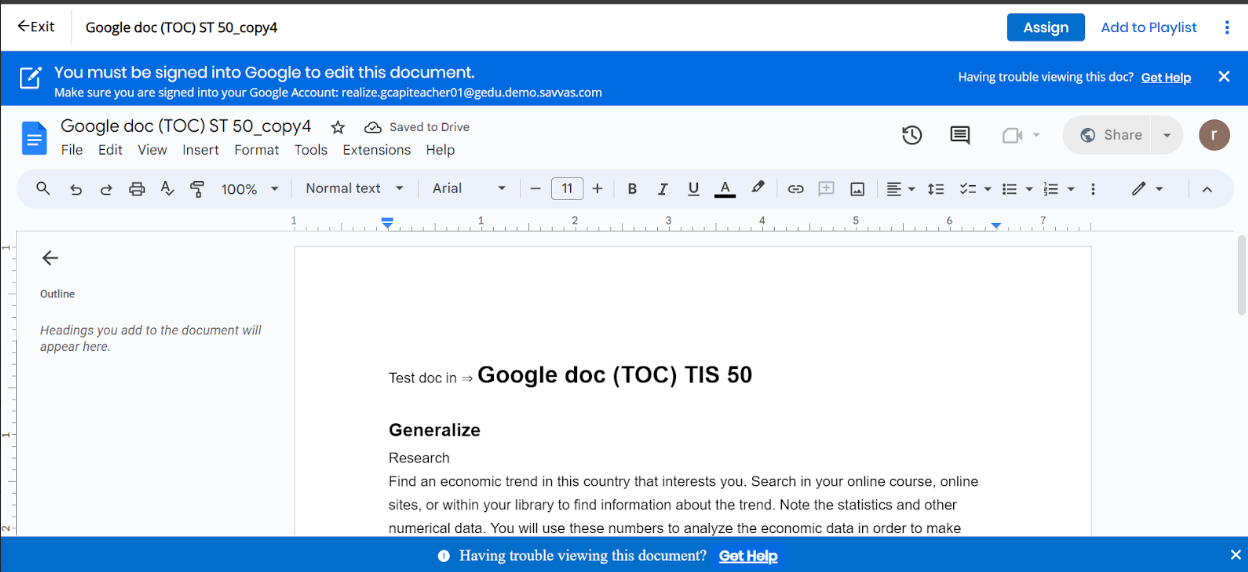
The editable Google Doc copy appears with the banner at the top.

-
-
-
-
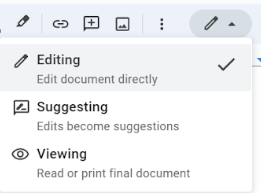
You can select Edit or Suggesting by selecting the Edit
 button on the top right.
The Google Doc auto-saves the changes.
-
Select the Exit button on the top left corner to navigate back to the Lesson Details page.


Assign an Edited Savvas-Provided Google Doc
Once you have made a Savvas-provided Google Doc editable, you can assign it to your students. Follow the steps below to assign an edited Google Doc:
-
Within the editable copy of the Savvas-provided Google Doc , select the Assign button from the top corner, which is next to the Add to Playlist button. The Create Assignment box appears.
-
In the Create Assignment box, enter a Title, Start date, Due date, and optionally add Instructions.
-
Enter the name of the class, group, or student by using the smart search feature. Enter the first letter and scroll to the class, group, or student. Search for students using Last Name, First Name format. From the list, select the Add button beside each Student or Class.
-
You can Add or Remove classes, groups, or students as required.
-
You can also set the Start and End times.
-
-
Select the Assign button to finish. Select Cancel or the
button in the top right to abort the function. -
You can find the edited Google Doc assignment in the Assignments page. You can select the edited version of the assignment by selecting the name of the assignment and then choosing the customized assignment in the drop-down menu. You can access this from the assignment list or the assignment module once the assignment has been selected.

For a seamless experience, Savvas has provided students the option to use all of the editing features within Google for their Google Doc assignments. Once you have created the edited version of the Savvas-provided Google Doc, you can assign it to your students, who can then interact with it.
Teachers must have a Google account linked to their Realize account to edit, customize, and annotate.
If students have not linked their Google account to their Realize accounts, then the Google Doc assignment will be in a read-only version. This prevents students from interacting with the Google Doc.
The below banner appears on the students' assignment page:

Students have to log in with their Google account to access the edit feature.
-
If the student has already logged in, they can directly interact with the Google Doc.
-
If the student has not logged in, then they need to follow the below steps:
-
On the Google Doc page, select the Sign-in button in the top right. The Google Sign-in box appears.
-
The student logs in with their Google credentials.
The Make this Google Doc editable text appears, allowing the students to select Edit this Google Doc to begin interacting with the contents of the Google Doc.
Inline Content View
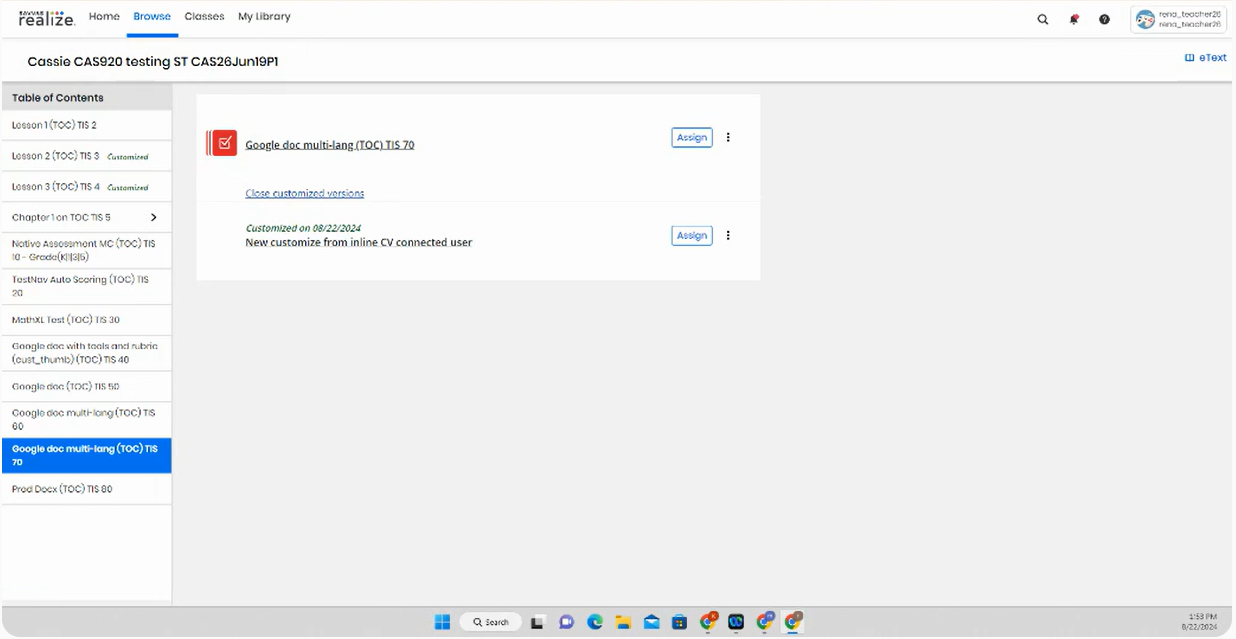
When customizing Google Doc content in the Inline Content Viewer, creating and saving a customized copy will navigate you back to the Table of Contents. You can access your most recent customized copy by selecting Open customized copy link from the Inline Content Viewer.
Standalone Content View
When customizing Google Doc content in standalone Content Viewer, creating and saving a customized copy will navigate you directly to the customized Google Doc.
-
The date will be stamped for each customized version of the Google Doc.
-
You can create only five versions of the custom Google Doc, and you must select the required version to edit.
-
A warning message appears once you reach the maximum limit of five versions:
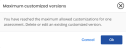
Select OK to close the message box.

When you create an assignment using a customized Google Doc, the system generates a read-only snapshot version at the time it has been assigned.
You can view the snapshot version in the Preview an Assignment section.
See Also