Customize a Lesson
You can customize a lesson within a program's![]() A program is a product your school or district has purchased. table of contents by uploading files for your students. You can upload files from your computer, Google Drive™, or Microsoft® OneDrive® to add to a lesson.
A program is a product your school or district has purchased. table of contents by uploading files for your students. You can upload files from your computer, Google Drive™, or Microsoft® OneDrive® to add to a lesson.
- Select Browse on the top menu bar, and then select a specific program, or use the search bar to search for content across all available Savvas programs.
You can also customize lessons from program Resources or Standards.
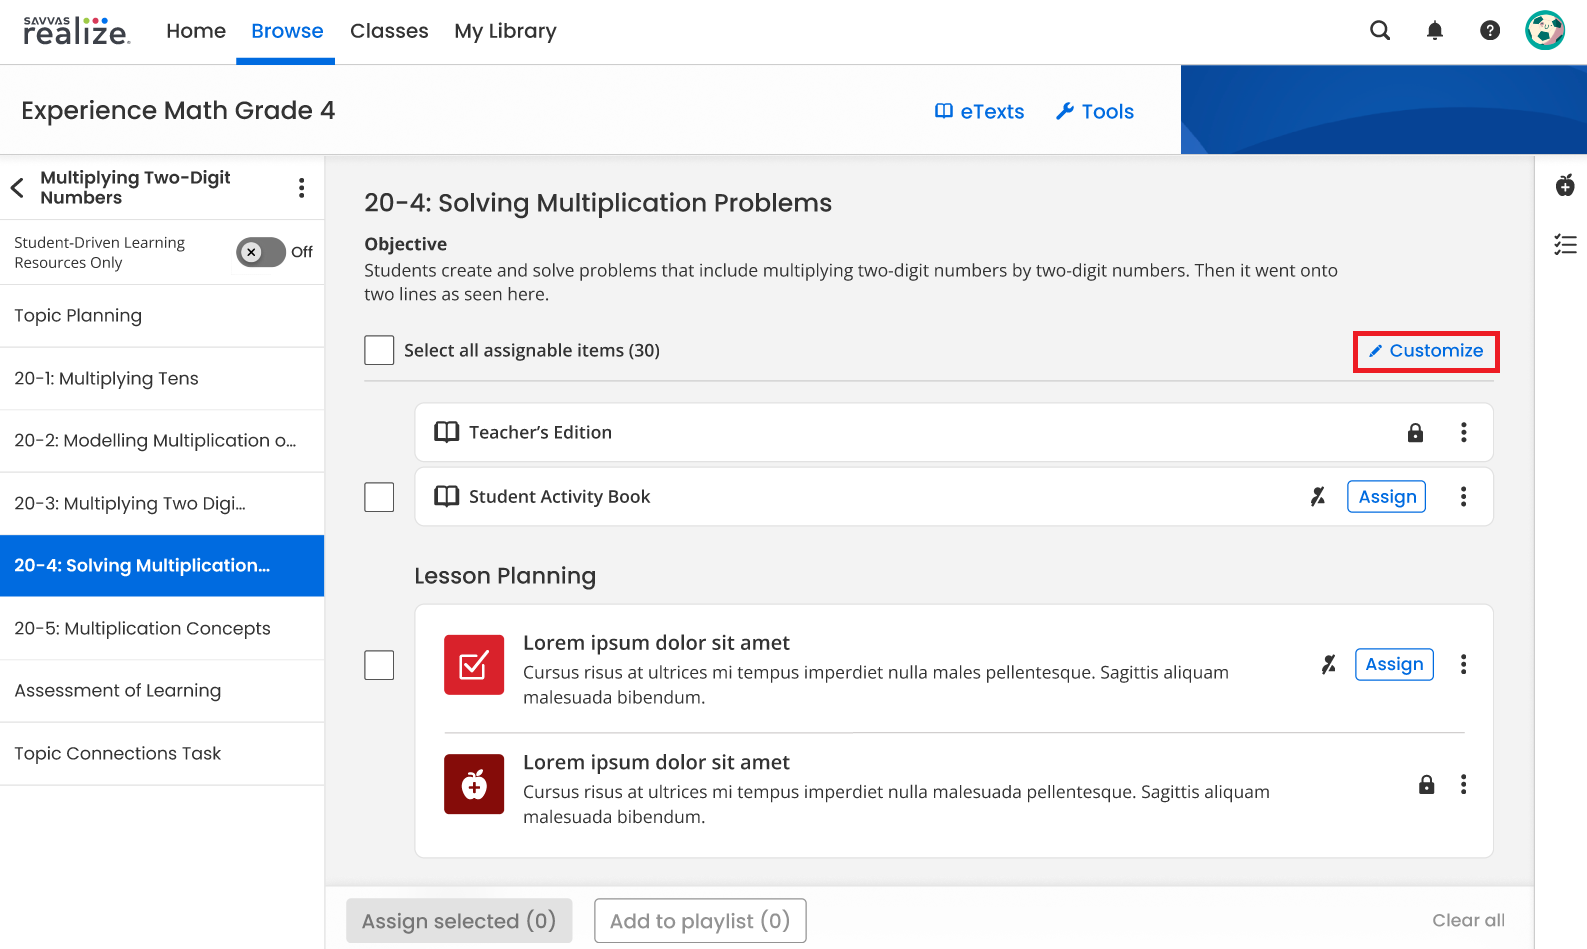
- Scroll through the program's TOC and locate the lesson you want to customize.
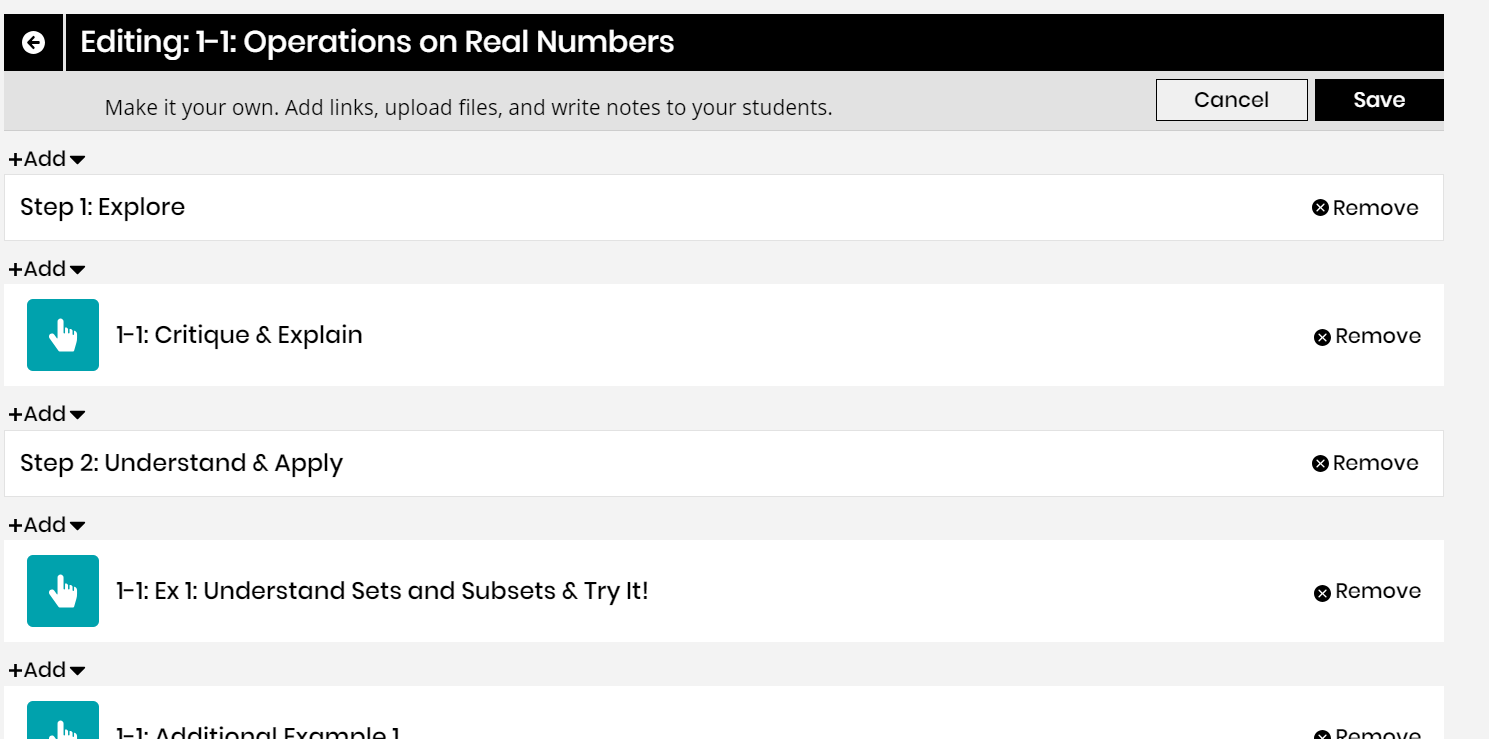
- To customize content from the lesson plan page, select the Customize button.
-
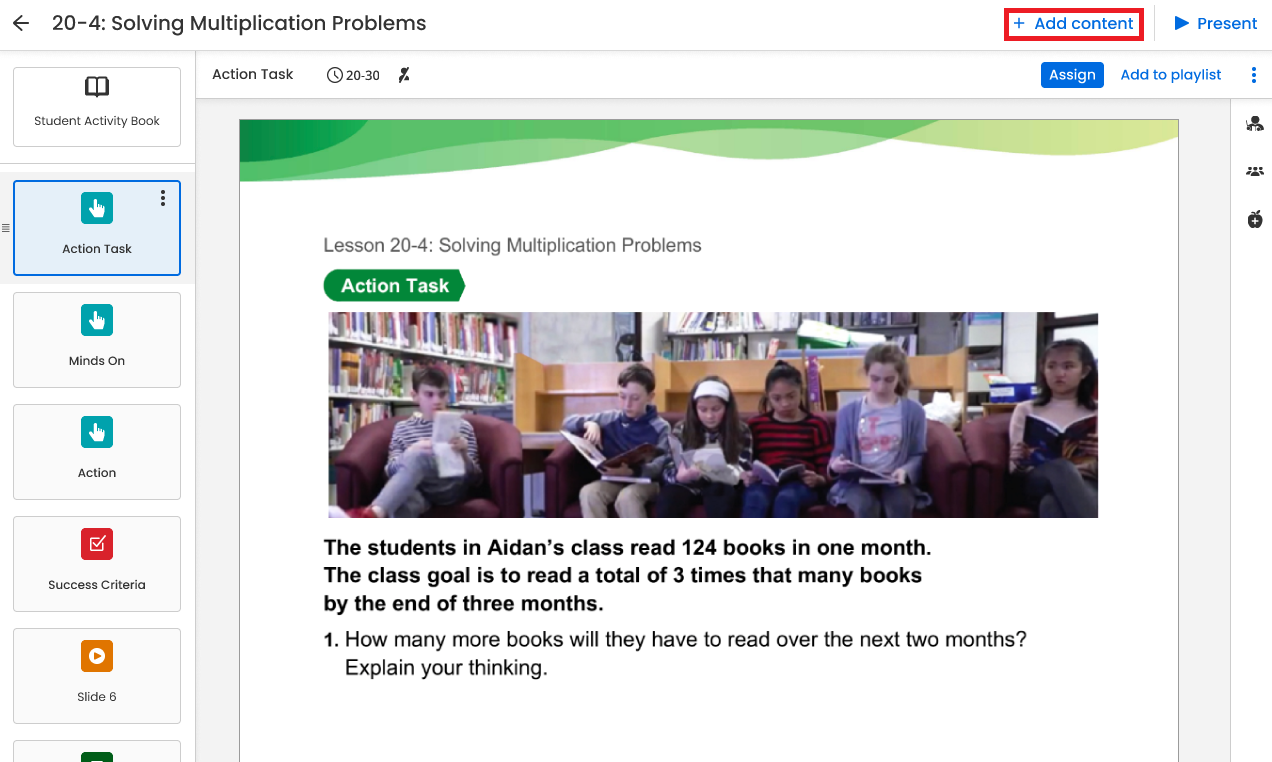
Similarly, to customize content from the content viewer, select the + Add content button.
- Do one or more of the following to customize the lesson:
 Attach a file
From the menu, select Upload a file, and then select Local drive.
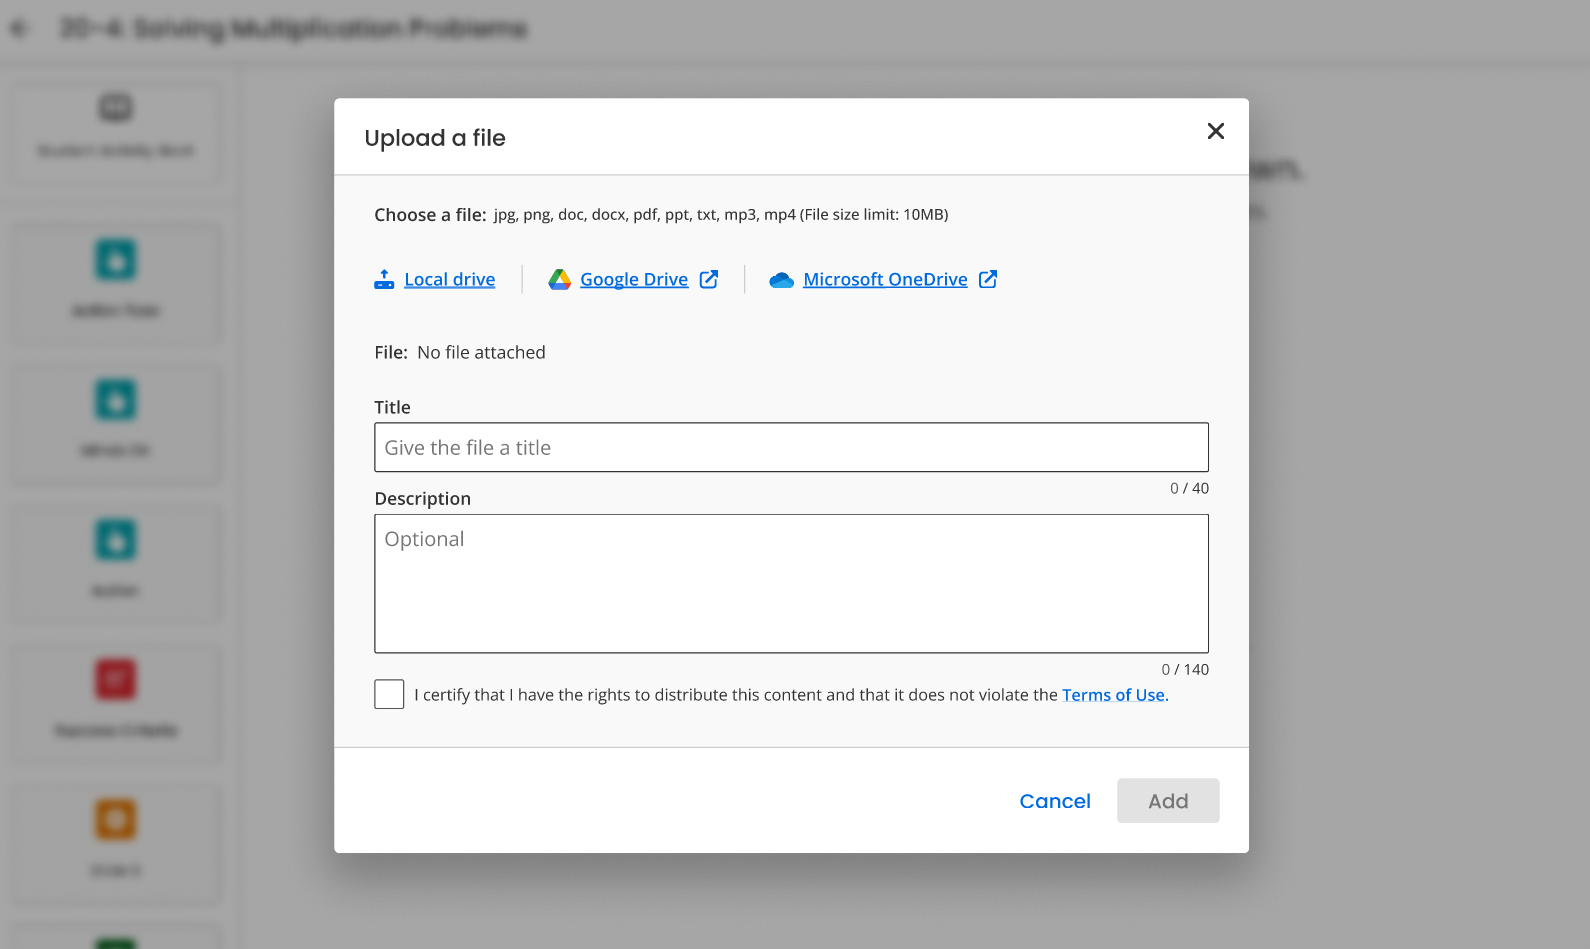
Select the file, and then select Open.
Enter a Title and Description for the activity.
Select the I certify that I have the rights to distribute this content and that it does not violate the Terms of Use confirmation check box, and then select Add.
If you attach a malicious file, such as one with a virus, an error message appears. The message says that your file could not be uploaded due to a virus detected on the file; you need to attach a different, clean file.
Attach a file from Google DriveFrom the menu, select Upload a file, and then select Google Drive.
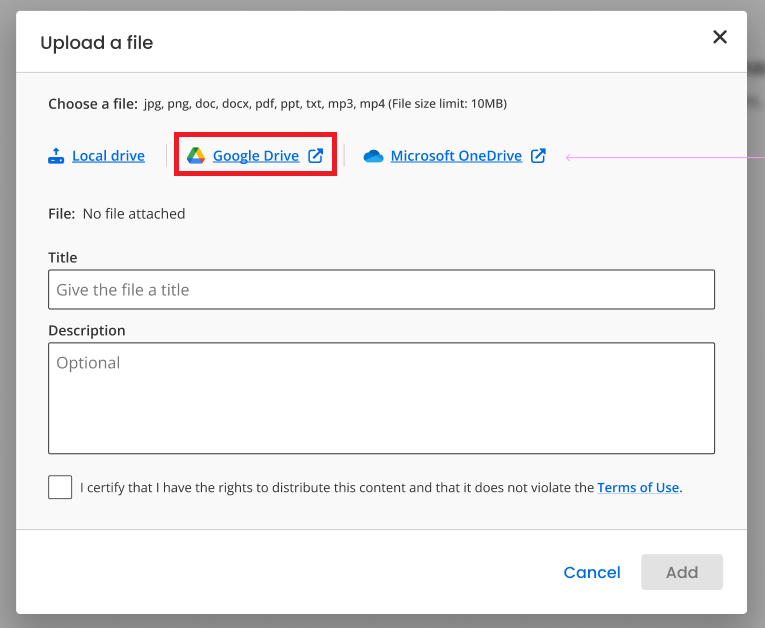
Select the Google Drive file, and then select Select.
- Enter a Title and Description for the activity.
- Select the I certify that I have the rights to distribute this content and that it does not violate the Terms of Use confirmation check box, and then select Add.
When you share an assignment, discussion, or custom lesson that contains a link to a Google Drive file, students access the same shared file; they do not receive a unique copy. In addition, access permissions for Google Drive files are controlled by Google Drive. Ensure share settings are configured properly in Google Drive.
Attach a file from Microsoft OneDriveFrom the menu, select Upload a file, and then select Microsoft OneDrive.
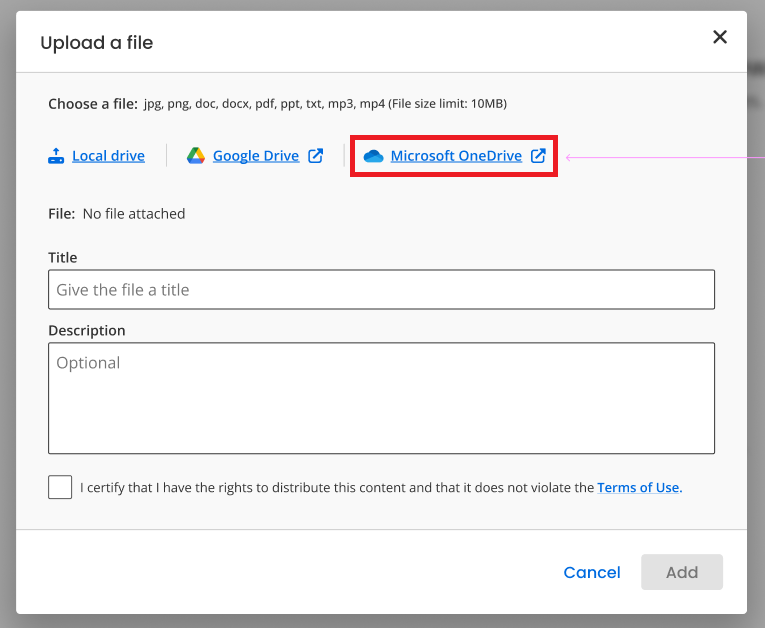
- Select the file, and then select Open.
- Enter a Title and Description for the activity.
- Select the I certify that I have the rights to distribute this content and that it does not violate the Terms of Use confirmation check box, and then select Add.
- Select Save to save the changes to the lesson.
- To rearrange the order of the activities, select Rearrange. You can then drag and drop items to change the order, and then select Save.
- Select the arrow to the left of the lesson title to return to the list of program lessons.
You can easily locate lessons you have customized in My Library.
See Also
Need more? Visit My Savvas Training for on-demand tutorials, virtual professional learning, chat, and email support.