Class Settings
You can change your class settings and add modify programs![]() A program is a product your school or district has purchased. your students can use for your class. You can also add additional teachers to the class.
A program is a product your school or district has purchased. your students can use for your class. You can also add additional teachers to the class.
Depending on your Realize account, some features may not be available to you. If you are unable to access the features you need, contact your administrator.
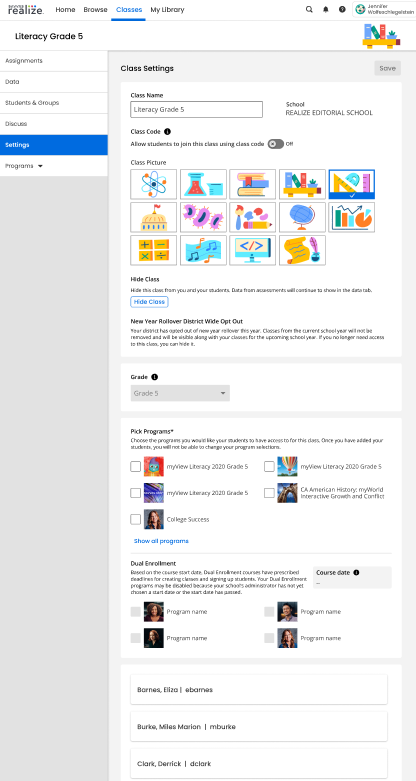
To access your class settings, select Classes on the top menu bar, and then select Class Settings below the class you want to view.
-
Select in the Class name box to change the name of your class.
For classes imported from Google Classroom™, select Edit in Google Classroom™ to edit your class name. After you've saved the changes in Google Classroom™, return to Realize and select Sync class data from Google.
-
If your district has enabled the option, you can use a Connected Classrooms section to link an existing Google Classroom™ class with an existing Realize class.
-
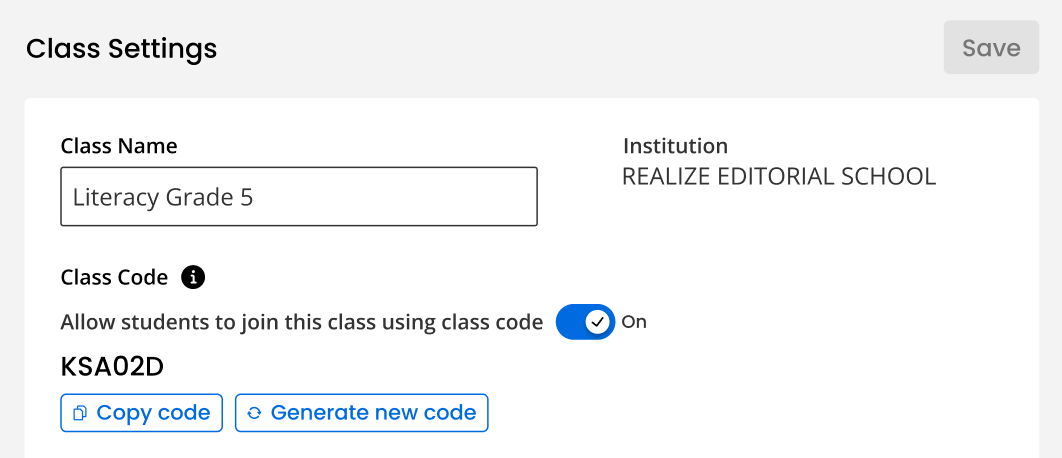
If your administrator has enabled the option, you can add a Class Code to your class. Students can use this code to join the class in their existing Realize account. You will have to manually add students that do not have an account.
-
Select the toggle button to turn this on and off. When you turn this feature on, it will automatically generate a class code for your students to use.
-
You can copy the code to your clipboard with the Copy code button, and you can get a new code at any time with the Generate new code button. You will provide this code to students so they can join the class on either the Home or Classes tab, depending on if they are already enrolled in classes or not.
-
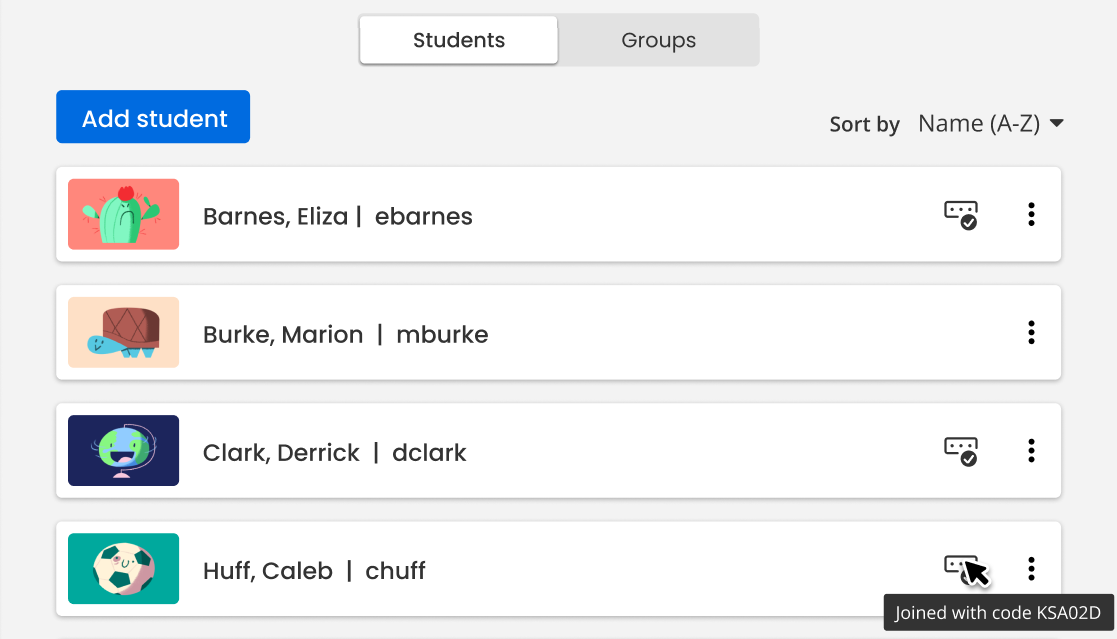
Students that join with this feature have an icon (
 ) next to their name to indicate that they joined with a class code. You can hover your mouse over or select the icon to see the code they joined with.

-
-
Select an image to select a new Class Picture.
-
Press Hide button to hide this Class from you and your students.
-
Data from assessments will continue to show in the data tab.
-
For more details, refer to the Hide or Unhide the Class section.
-
- Use the information in the Keeping this class post New Year Rollover (NYR) section view or manage new year rollover settings for your class.
- Under Pick programs
 A program is a product your school or district has purchased. section, select or unselect the checkbox(es) beside the programs that you want your students to access for this class. Select Save at the bottom of the page to save the changes made.
Select Show all programs at the bottom of the section to view the complete list of programs. Select Show fewer programs to collapse the list to view fewer programs.
For Auto and Plus classes, the teacher may not be able to edit their programs unless the setting has be enabled by the Savvas administrator. Please contact your administrator for additional information.
For Basic classes, by default, teachers can add and remove programs from the program list.
A message, “Removing the last program will cause the classes and assignments to be inaccessible to students. The class will still be available to teachers under the inactive class section.”, appears when you are removing the final program from the class.
_thumb_0_48.png)
Select OK button to continue to remove the programs.
Select Close
 to abort the function.
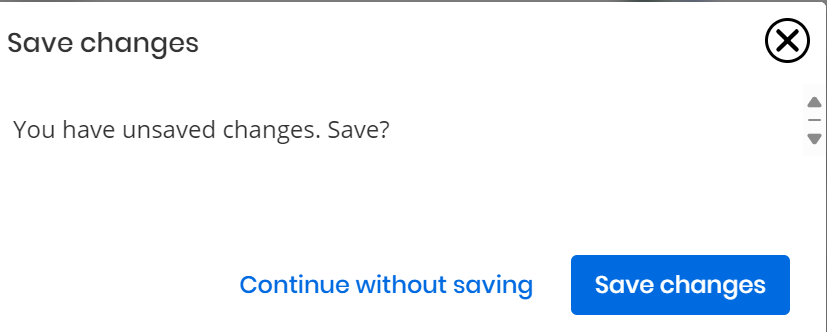
A message, "You have unsaved changes. Save?", appears when you attempt to leave the page without saving the program changes.
The warning message box appears:

Select Continue without saving to abort the function and navigate to the page which you have selected.
Select Save changes to save the changes made.
Select Close
to abort the function.
- If the Dual Enrollment is available at your school, you can view and manage (add/drop) restricted products such as, College & Career Readiness (CCR) products, and other Outlier products within their rostered classes in Realize and Easybridge. You can directly add and remove these products from their classes.
.png)
If you made any changes to the class settings, select Save at the bottom of the page.
-
Navigate to the class settings and scroll down to the Teachers section.

-
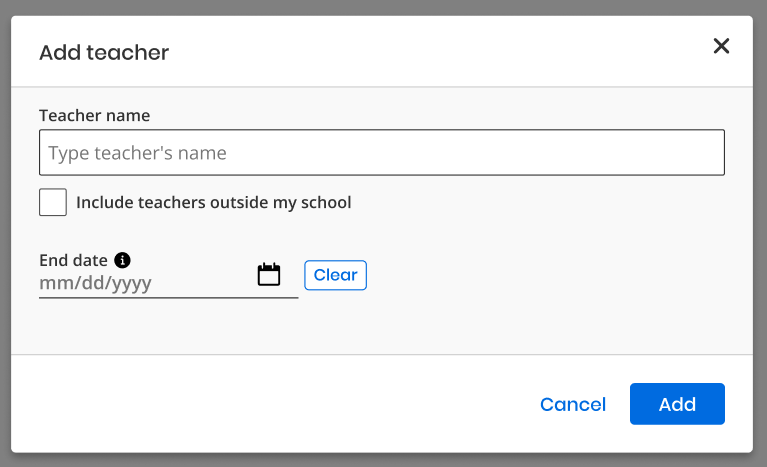
Select Add teacher.
-
Use the search box to find the teacher you're looking for.
You can check the box beneath the search box to include district teachers from outside your current school in the search results.

-
Select the teacher's name.
-
Select Add.
-
Select the calendar icon and use the widget to set an optional co-teacher end date.
If you do not set a teacher's end date, this will default to the class's end date. If the class does not have an end date, it will default to N/A.
-
Select Save.

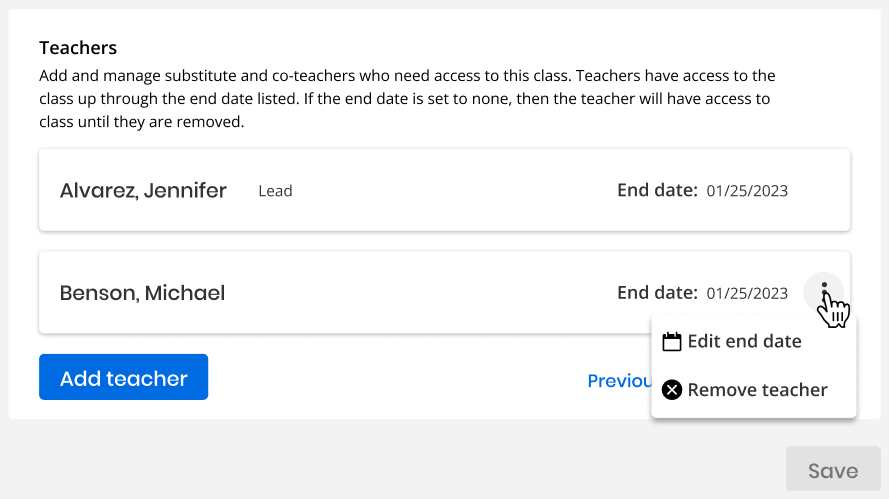
The co-teacher now appears in the Teachers section of the class settings page.
-
Teachers have access to the class right up through the end date listed. If the end date is set to none, then the teacher will have access to the class until they are removed.
-
If a teacher's end date has passed, you can see a history of teachers that have been added to this class by selecting the Previously rostered teachers link.
-
Navigate to the class settings and scroll down to the Teachers section.
-
Select the 3-dot button on the panel of the teacher you want to remove.

-
Select Remove teacher.
-
Select Save.

-
Select or hover over the 'Classes' tab in the top menu bar.
-
Select the class you wish to edit.
The Class page is displayed.
-
Select on 'Settings' in the left pane.
The 'Class Settings' page appears in the right pane.
-
In the 'Class Grade Level' section, use the drop-down list to add, remove, or change the grade.
-
Select 'Save' to apply the changes.
A notification appears stating, "Class updated successfully."
-
Fields marked with an asterisk (*) are required.
-
Teachers can view but not modify the grades of their auto-rostered classes.
-
Co-teachers are also able to add or edit grades by following the aforementioned steps.
-
Other modifications are possible as well, including editing the Class Name, switching the Class Code, changing the Class Picture, hiding or unhiding the Class, and adding or modifying Programs before saving.
-
Any alterations made in Realize will be mirrored on the EasyBridge > Class Detail page, and the reverse is also true.
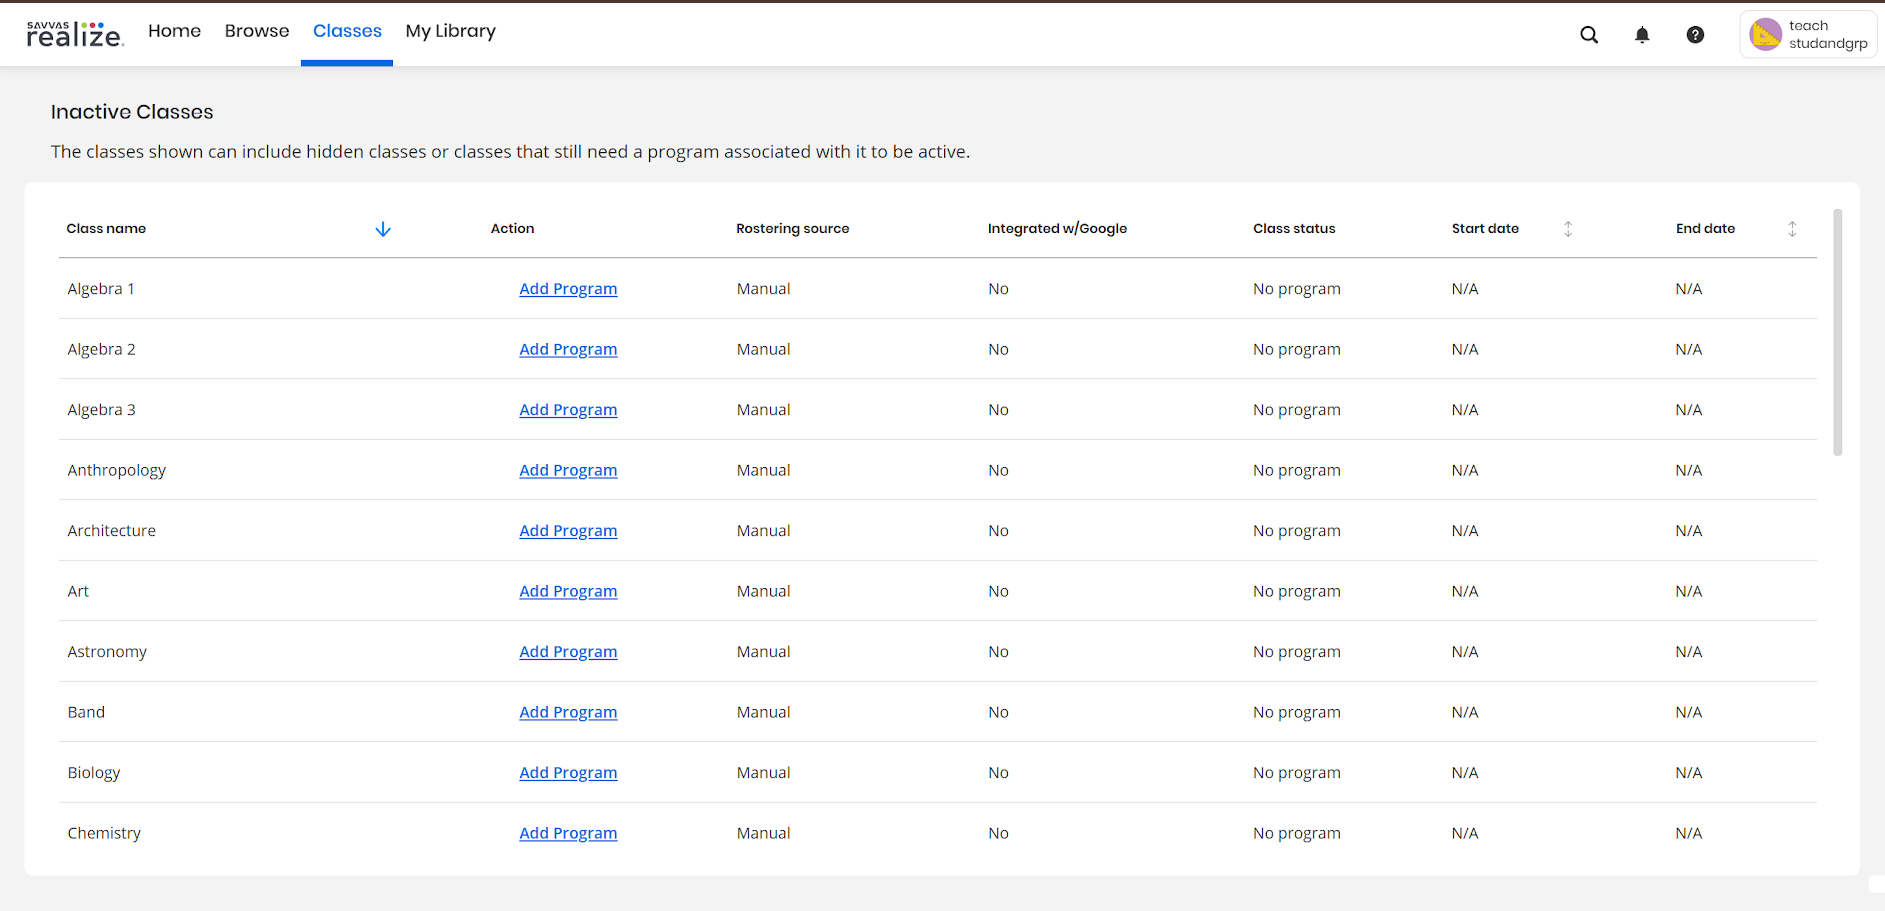
A class becomes inactive when it is created without a program, or has the final program removed from it. In the Inactive Classes page, the teacher can view important information such as:
-
Class name
-
Rostering source
-
Integration with Google status
-
Class status
-
Class start/end dates.
Teachers can view the start and end dates of the auto rostered classes.
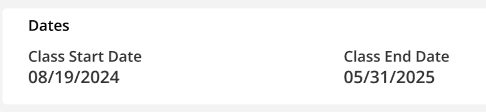
The start and end dates of auto rostered classes are managed by your administrator.
Need more? Visit My Savvas Training for on-demand tutorials, virtual professional learning, chat, and email support.
See Also