Create Classes
Adding students to classes gives students access to the system, enables you to organize them by groups, and track their progress on assignments.
- EasyBridge Plus and EasyBridge Auto teachers manage their classes on EasyBridge. After adding a Savvas Realize product to a class. It automatically syncs to Realize, and you can begin to use the program
 A program is a product your school or district has purchased. content and make assignments.
 - EasyBridge Basic teachers manage their classes on Savvas Realize.
Depending on your Realize account, some features may not be available to you. If you are unable to access the features you need, contact your administrator.
When changing schools, classes and students will only be created in the selected school. When choosing existing students, the student must be active in the selected school in order to be added to the class.
You can create a new class directly in Realize by following the steps below, or if you are using Google Classroom™ integration, you can import additional Google Classroom™ students to share Realize assignments directly in students' feeds.
Create a New Class
-
Select Classes on the top menu bar.
-
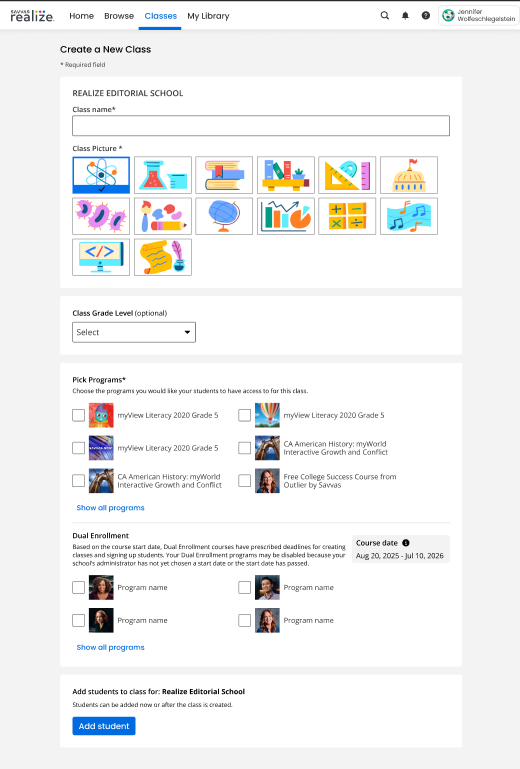
Select Create a New Class button on the top right.
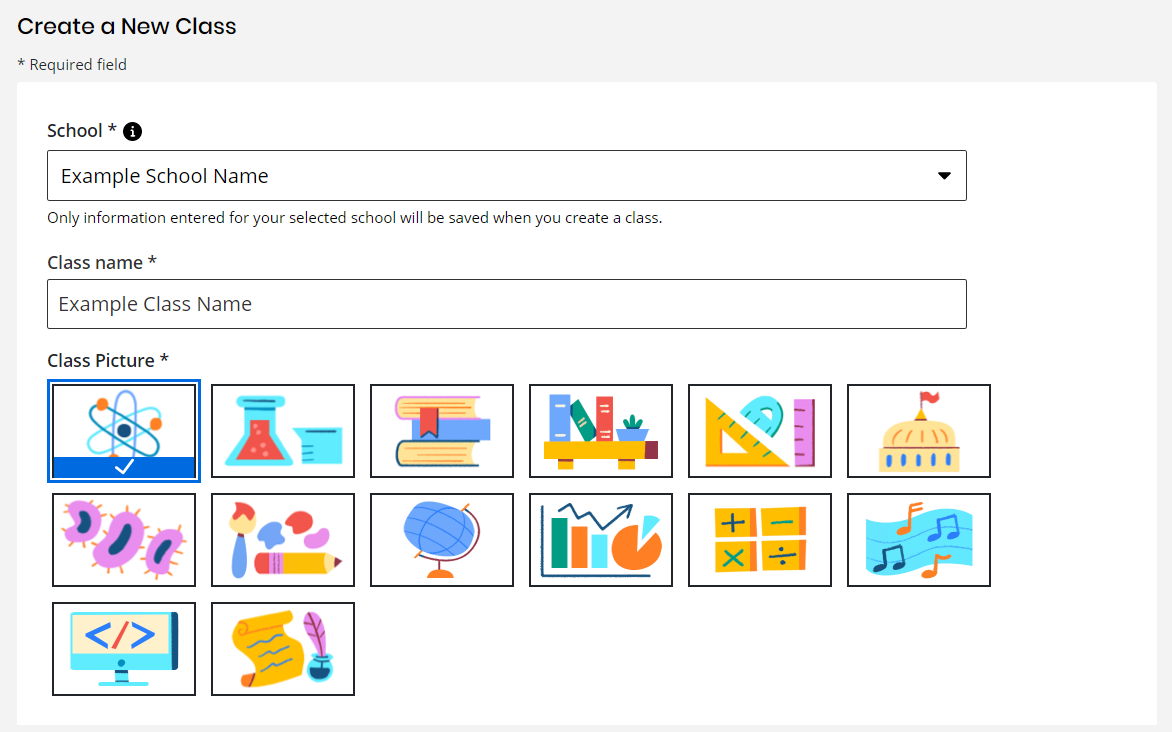
- Choose your school from the drop-down menu. If needed, add a class name, select a class picture, and pick the programs that you want your class to see and use. If you need to add more programs at a later time, you can do so by managing your class settings.

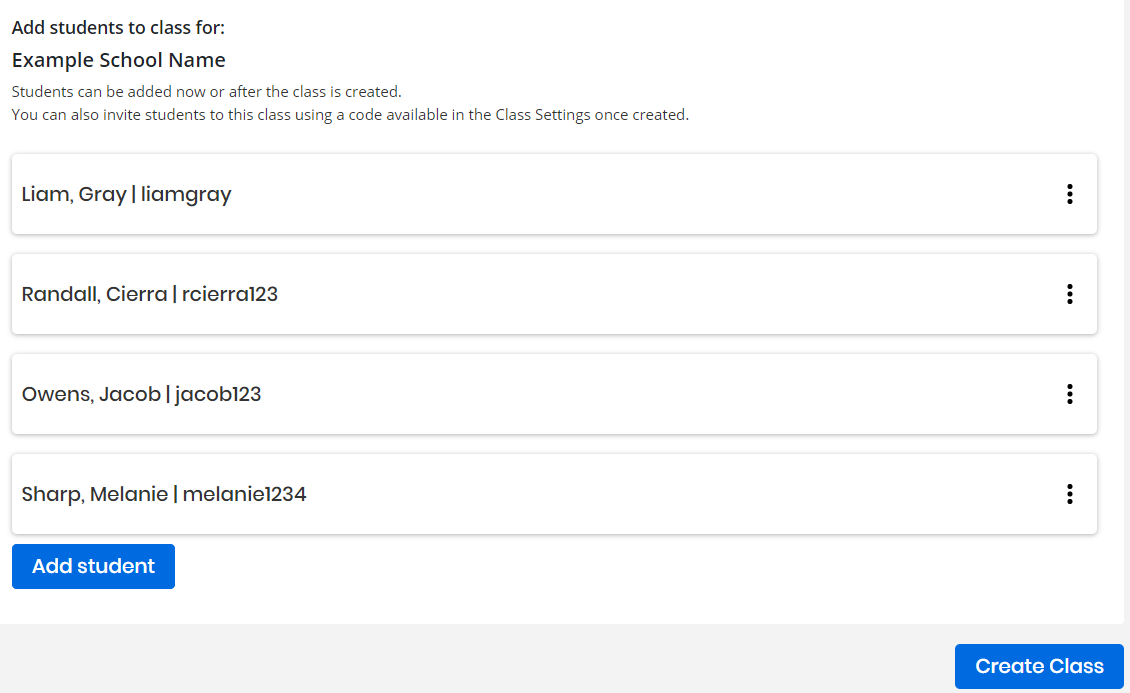
- Add students to your class by selecting the Add student button.
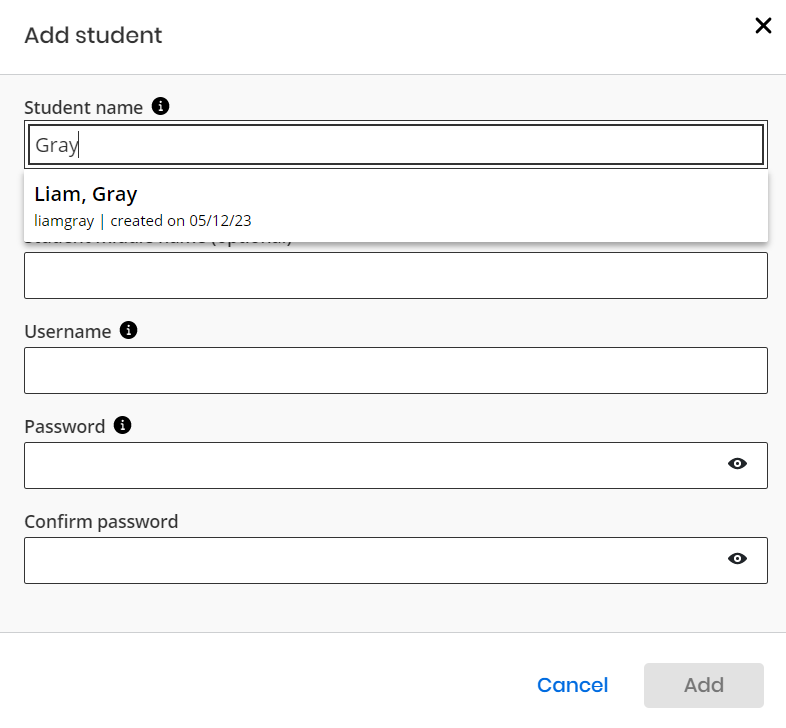
- A pop-up will appear, prompting you to enter the information for the student that you'd like to add to your class, beginning by entering the student's last name first.
- If your student has been in the system previously, their name appears when you type the initial letters. Their usernames and passwords will self-fill when you select a name from the list.

- If it is a new student, enter their name, then create a username and password for the student. See Requirements for usernames and passwords.
- If your student has been in the system previously, their name appears when you type the initial letters. Their usernames and passwords will self-fill when you select a name from the list.
- Select Create Class to create your class.

Add or View a Grade Level
The teachers can create classes with specific grade values and both teachers and co-teachers can add and modify these values in the class settings. Also, teachers can locate and view grades for their automatically rostered classes within the class settings, with the provision that they can only view, not alter these grades.
To add Grade Levels to a Class
-
Select or hover over the Classes tab in the top menu bar.
-
Select Create a New Class in the top right corner. The Create a New Class page displays.
-
Enter the class name in the Class Name field.
-
Choose the Class Picture and your programs Pick Programs or Dual Enrollment from the available list.
If the Dual Enrollment product is available at your school, you can view and manage (add/drop) restricted products such as, College & Career Readiness (CCR) products, and other Outlier products within their rostered classes in Realize and Easybridge. You can directly add and remove these products from their classes.
-
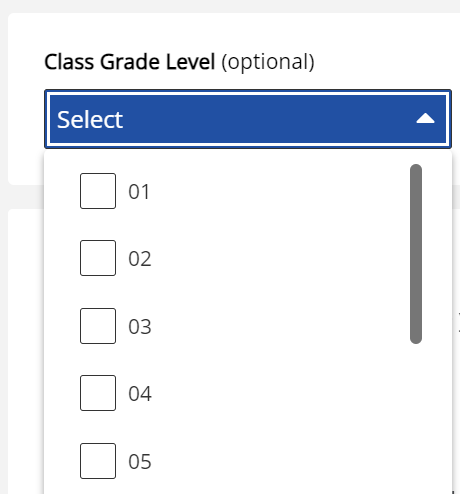
From the Class Grade Level dropdown, select the grade level for the class.
Assigning a grade level to a class is optional.
-
Select the Add Student button to enroll students in this class.
-
To finalize, select Create Class, which will include the customizations made. A confirmation message stating "A New Class has been created successfully" appears.
-
Fields marked with an asterisk (*) are mandatory.
-
Teachers can view but not modify the grades of their auto-rostered classes.
-
Co-teachers are also able to add or edit grades by following the aforementioned steps.
-
Other modifications are possible as well, including editing the Class Name, switching the Class Code, changing the Class Picture, hiding or unhiding the Class, and adding or modifying Programs before saving.
-
Any alterations made in Realize will be mirrored on the EasyBridge > Class Detail page, and the reverse is also true.
See Also
Need more? Visit My Savvas Training for on-demand tutorials, virtual professional learning, chat, and email support.