Students and Groups
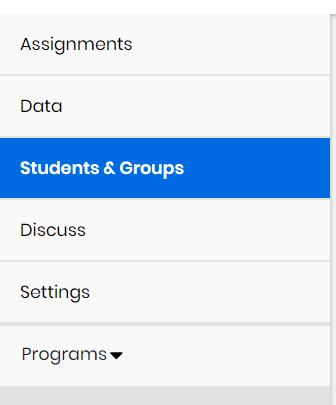
Realize provides the Students & Group page that allows you to view the class roster and manage groups for each of your classes. The Students & Groups page can be found under the Classes section of Realize by selecting a class from the Classes tab, then choosing Students & Groups from the list of options on the left side of the page.
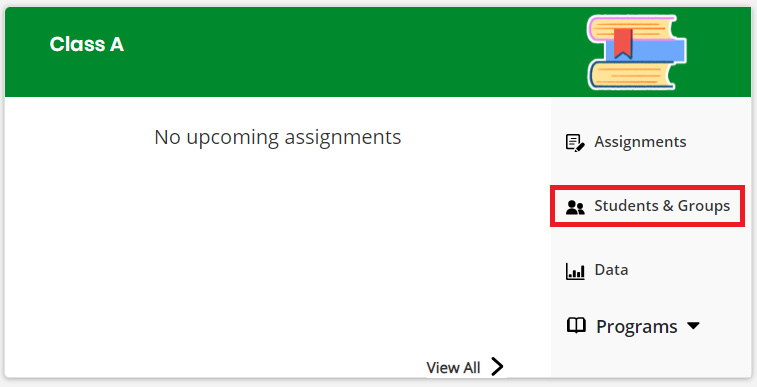
You can also access Students & Groups by selecting the Students & Groups option from a class listed in your Dashboard.
Dual Enrollment details
Teachers can view more information relating to the start date, end date, registration deadline, and withdraw deadline of their dual enrollment products.
Students and Groups
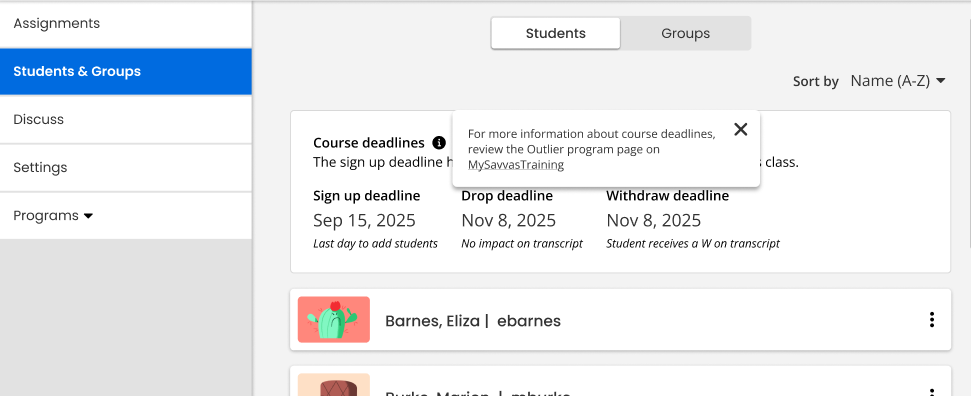
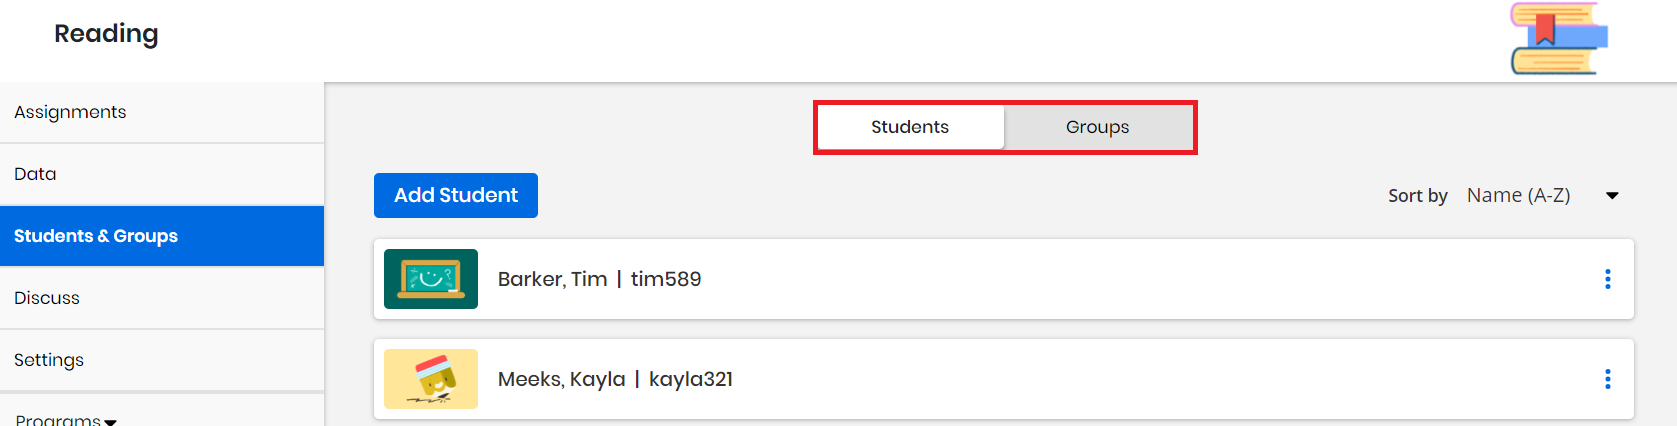
The Students & Groups page contains two tabs from which you can configure your students and groups. From the Students tab, you can add or remove students to your class (manually-rostered classes only), see a list of current students in your class, see the username for each student, configure students (manually-rostered classes only), and see the Google status indicator (Google-connected classes only). You can also sort students alphabetically or reverse-alphabetically from the Sort by drop-down menu. From the Groups tab, you can create a group of students, see your list of groups, and configure your groups.
Students
In the Students tab, students are listed according to name, as well as a combination of the following based on the class type (manually-rostered, auto-rostered, or Google-connected):
-
Students and their usernames are created automatically based on the district-provided roster data through EasyBridge Plus and/or Auto (auto-rostered) processes. This also applies to Google Classroom™ Linked classes since the class roster is based on the EasyBridge class.
-
Students and their usernames are created by the customer (administrator or teacher) through EasyBridge Basic (manually-rostered) or Realize processes.
-
Students and their usernames are created automatically based on the student name and email address as provided by Google for Google Classroom™ Imported classes.
By default this only applies to EasyBridge manually roster-districts only. For auto-rostered districts see the first bullet above.

Google Status Indicator
For classes connected with Google Classroom™, it's important to be aware of the Google status indicator for a student. There are two indicator statuses: Connected and Needs to connect.
For Google-connected classes that are Imported, be aware that it may be normal for students to not appear in the Realize class roster. This is noted in the Students & Group page above the student roster with the informational message, "Can't see all of your students?" which can be selected and provides the following information: "In order for students to appear on this class roster, each student must sign in with their district credentials to connect their Google account to their Savvas account. Students only need to do this once."
Once a student is present on the class roster, they have a Connected or Needs to connect status, as depicted in the following image:
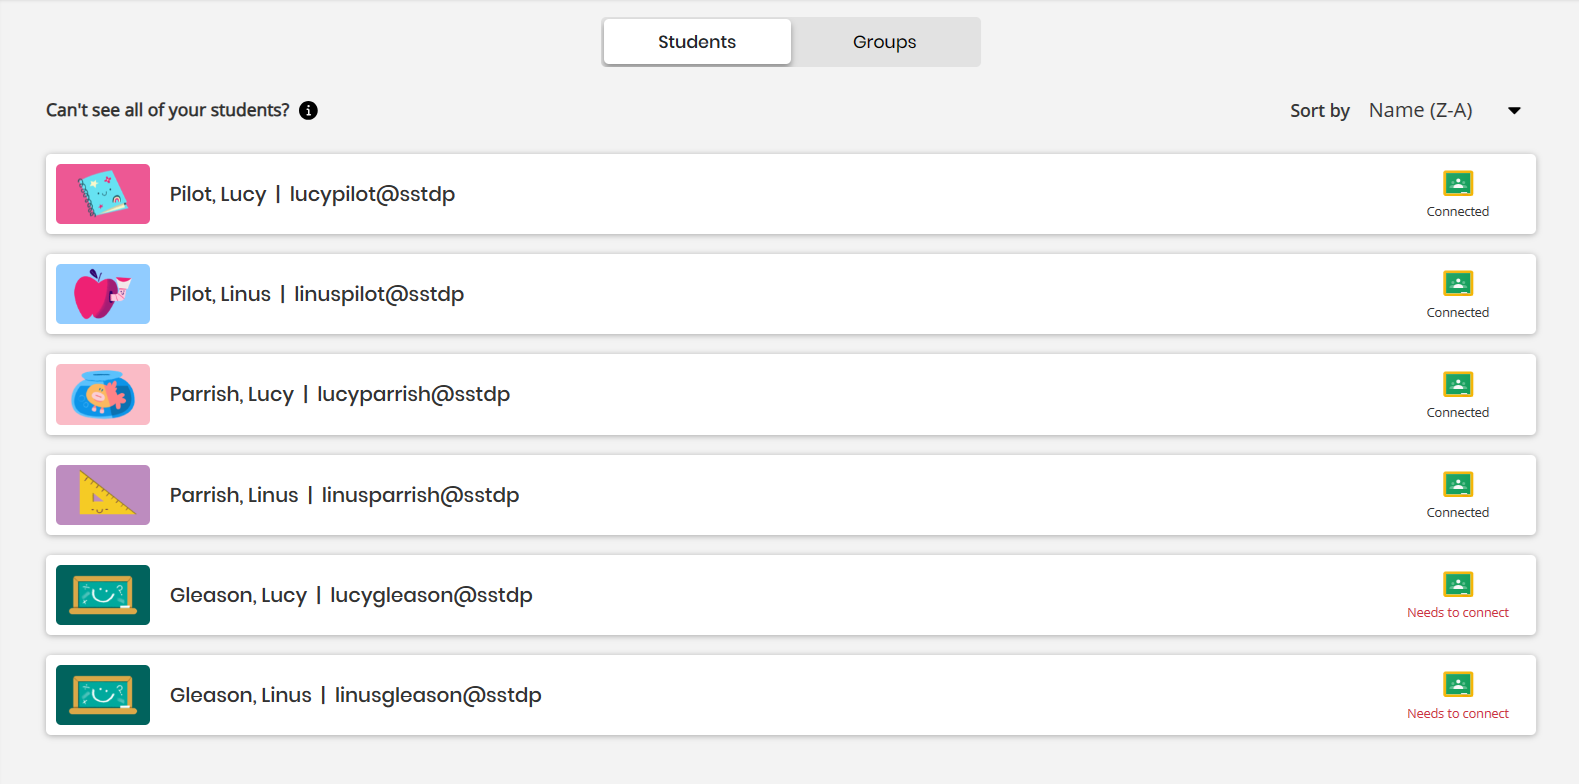
The Google status indicators are explained in more detail below:
Connected
The student has completed an account connection or account linking process. They should be able to see assignments present in the Google Classroom™ class, and teachers should be able to see finalized grades in the Google Classroom™ class.
Needs to connect
For manually-rostered schools or auto-rostered schools with Account-linking disabled, the student must sign in to Google Classroom™ to connect their Google account to their Savvas account by opening the default Realize Login assignment. Students only need to do this once. The step-by-step process for this can be viewed here. For auto-rostered schools or those with Account-linking enabled (default), the student must sign in to Google Classroom™ to connect their Google account to their Savvas account by opening the default "Realize Login" assignment. This will require them to sign in with their district credentials to connect their Google account to their Savvas account. Students only need to do this once. The step-by-step process for this can be viewed here.
The following pages contain more information about creating student accounts:
-
Create, Delete, and Suspend Users: Instructions for creating, deleting, and suspending new users directly from EasyBridge.
-
Import Users: Instructions for bulk importing students and teachers to EasyBridge.
-
Add New Class Roster: Instructions for adding class rosters to EasyBridge.
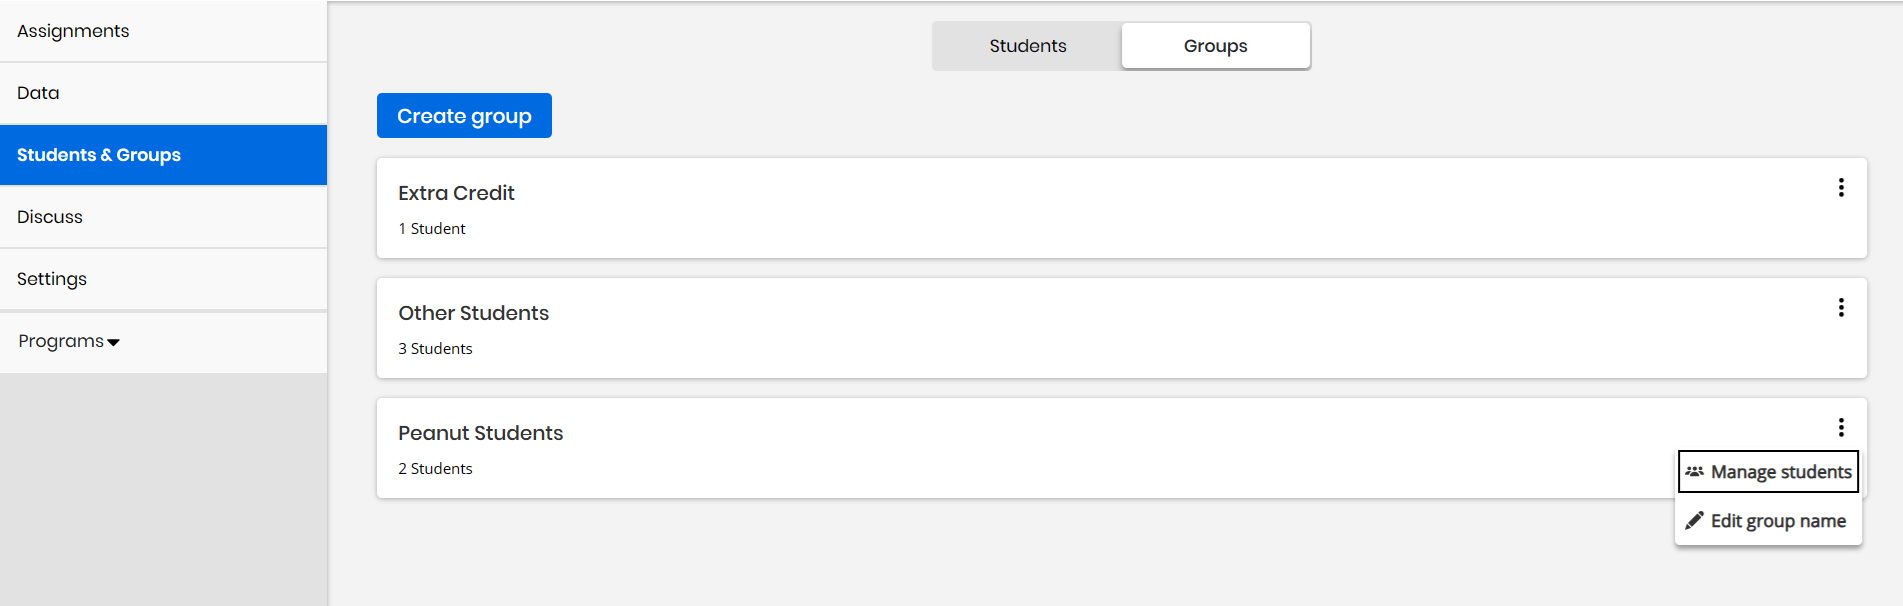
Groups
From the Groups tab, you can create a group of students, see your list of groups, and configure your groups. The Groups feature allows you to create a group of students that you can manage yourself. You can add one or more groups to each of your classes to provide a grouping of students within the class. This is a really helpful feature, especially if you teach multiple classes, that can make your life a lot easier. More information on how to use Groups can be found on the pages listed below.
The following pages contain more information about creating and using Groups:
-
Create a Group of Students: Instructions for creating a group or groups of students.
-
Add Students to a Group: Instructions for adding students to a previously-created group.
-
Remove Students from a Group: Instructions for removing students from a previously-created group.
-
Add Students to a Google Classroom™ Class: Instructions for adding students to a previously-imported Google Classroom™ class.
-
Edit a Student Imported From Google Classroom™: Instructions for editing students previously-imported from Google Classroom™.
-
Remove Students Imported From Google Classroom™: Instructions for removing students previously-imported from Google Classroom™.
-
Change or Reset Student Passwords: Instructions for changing or resetting a student's password.
-
Student User Name and Password Requirements: The requirements students need to adhere to for creating passwords.